- HubPages»
- Arts and Design»
- Graphic Art & Design»
- Design Software
Create a Simple glass layer in Photoshop


Here, I am explaining one simple Photoshop trick to create a glassy layer. This layer may be useful for designing brochures, business cards, etc.
Step 1
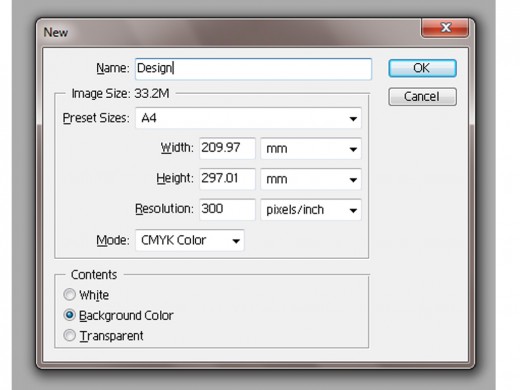
First create a new document in Photoshop (Ctrl +N). Document resolution should be 300 or above and the size should be fair. I have used an A4 size page for this tutorial.
Step 2
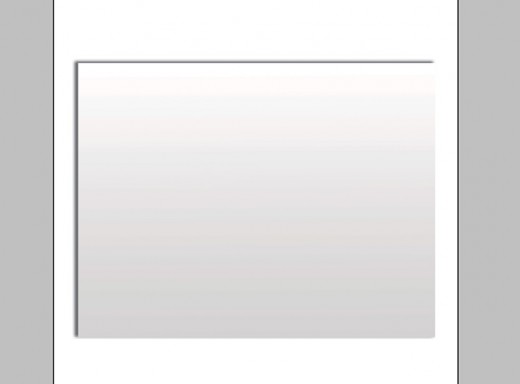
Just create a new layer (Ctrl+Shift+N) and name it 'Glass'. name is not important. After creating new layer, draw a selection using marque tool (M) and fill it with a gradient fill tool (G). Use a blank and white combination for it as shown in the pictures below.


For filling the gradient, just click and drag the left mouse button in the selection.

Step 3
Now comes the real part! Reduce the 'Fill' of 'Glass' layer to about 10% as shown in the picture. If you having treble to seeing layer palette, then just hit F7.

Step 4
Now we have got a transparent black & White shade on our document as the fill is reduced to 10%. We have to give our 'Glass' layer some shadow effect. For this, go to the blending options by just right clicking the particular layer. In blending options just tick the drop shadow and set the shadow for it.

Now, our glass layer is ready. For knowing the glass effect, just place any layer or text under this glass layer.

Hope you enjoy this beginner Photoshop tutorial. Instead of setting fill to 10%, try setting it to 0%. and just give it a drop shadow for a white glass. All the best for your Photoshop learning....


